Tags
bacon, chicken, don't be afraid of your kitchen, meat, paleo, recipe, simple foods, spaghetti squash, vegetables
We’ve said it over and over again.
We find a lot of solace in our kitchen. That little space (and since our move that not so little space) where time slows down and we focus on the very thing in front of us and not the ever shrinking yet ever growing world around us.
The chopping and dicing. The adding of spices and measuring of liquids. The excitement over new recipes and the possibilities of left overs (with that good old friend of ours the fried egg).
Oh we’ll be the first to admit some days it just seems like a pain in the ass to get in there and make a meal or two after a long day knowing it’s going to be repeated in a few hours and all we can think about it zoning out with something on Netflix and some called in / picked up boxes of hot food ready to eat with the push of the front door buzzer.
Nothing, however, is more satisfying than sitting down (with a disaster of a kitchen that still has to be cleaned up) to something that we created. With our hands. With our hearts. With patience knowing that for a least a little bit, time has slowed down and that big bad world isn’t so big and isn’t so bad…
Make this meal.
Again and again.
It’s amazing!
ENJOY!
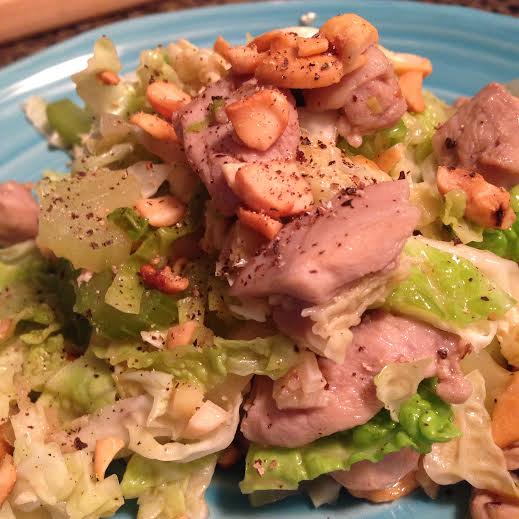
Paleo Chicken Carbonara
Ingredients:
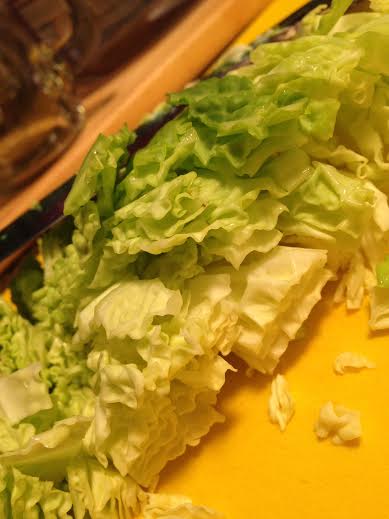
- 1 large spaghetti squash;
- 2 chicken breasts cut into small cubes
- 10 – 15 stalks of asparagus, cut into 1″ pieces
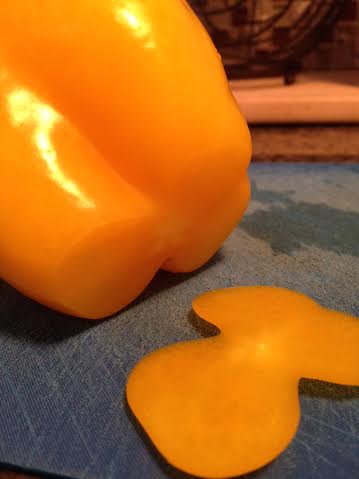
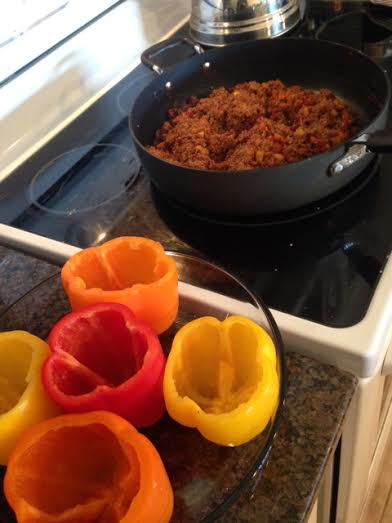
- 1 large pepper (you pick the color), seeded and chopped.
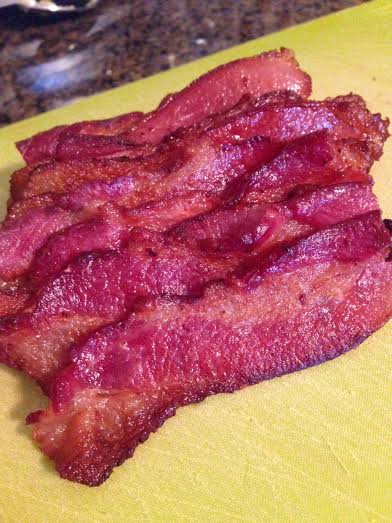
- 5 – 7 slices bacon, cooked and crumbled (save the rendered fat!)
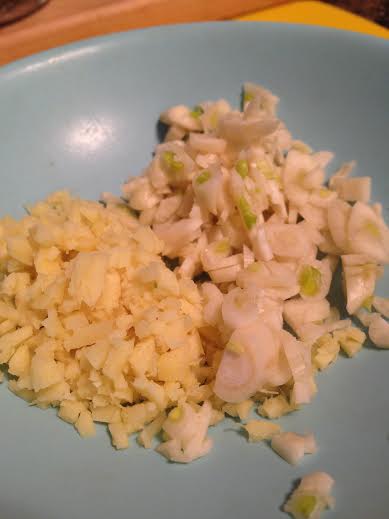
- 1 medium onion, minced
- 2 – 4 cloves garlic, minced
- Salt and pepper to taste
Preheat oven to 400F
To prepare the spaghetti squash, you’ll have different options (the microwave, bake it whole, cut in half….). We always cut in half, clean out the seeds, place on nonstick cookie sheet (squash side down) at 400F for about 20-25 minutes. A good indicator that it’s done is a fork will pierce the skin (we take it out when fork has a little resistance because we like it more el dente. While this is cooking in the oven get over to those veggies and start chopping and get that bacon started!!!
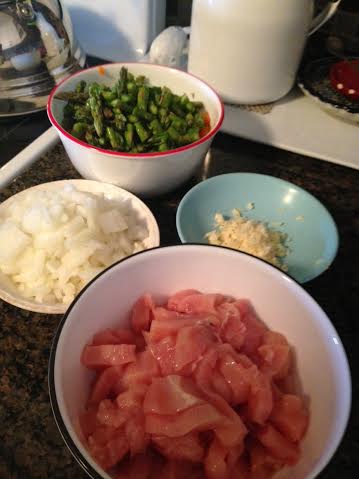
Remember for proper handling of foods, chop your vegetables first THEN your meat. Don’t use the same chopping mat either…have a designated mat just for cutting raw meats and never ever (ever) use it for your veggies. Ours is red. You know for ‘warning! warning! You’re about to cut raw meat!”
Hopefully you have great time management skills in the kitchen and about the time you’re done chopping the veggies/meat the bacon will just about be ready. Set bacon aside but leave the rendered fat in the saute pan. If your time management skills need some improvement, do the bacon first so it doesn’t burn and set aside. Chop those veggies and meat and then get ready for the magic. The spaghetti squash may be ready at this point so check it and if it’s done, remove from oven and place in refrigerator to help cool down a bit for easy handling.
(fuck yes! BACON!!!)
With the rendered fat still in the saute pan, add garlic and cook on medium heat for about a minute (but no more or it will start to burn). Add onions and saute for additional minute or two then add asparagus and peppers. Cook for another minute or so then add chicken. Continue to saute on medium heat until chicken is cooked thoroughly then turn down to low heat so it will continue to simmer while you get that delicious spaghetti squash ready.

(Fuck yes!!! VEGETABLES!!!)
If your spaghetti squash is in the refrigerator; get it out! With a fork work your way from the inside around the sides to remove the spaghetti like strands from the skin and add to the saute pan.
If it’s still in the oven; HANDLE WITH CAUTION!!! It’s gonna be hot and you’re gonna need to remove the spaghetti like strands from the skin. Fear not our little kitchen friends, with practice you’ll become an expert in the handling of spaghetti squash. Once separated from skin add to saute pan and mix chicken/veggies and squash thoroughly.
Chop up that amazing bacon!
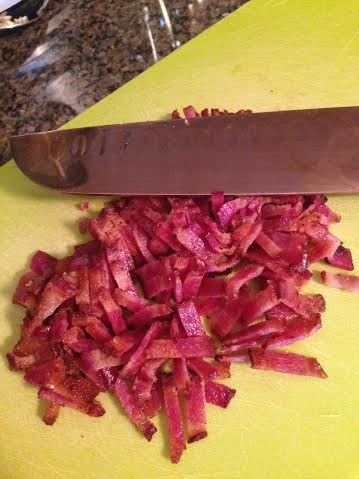
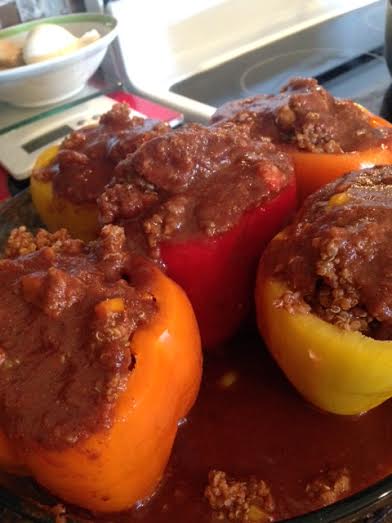
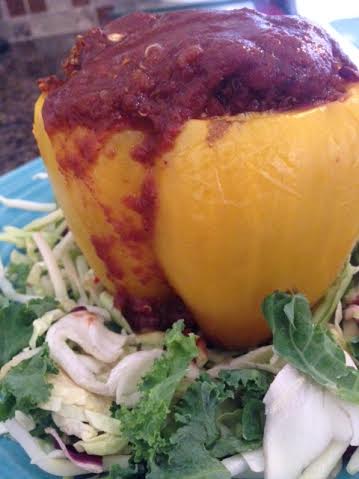
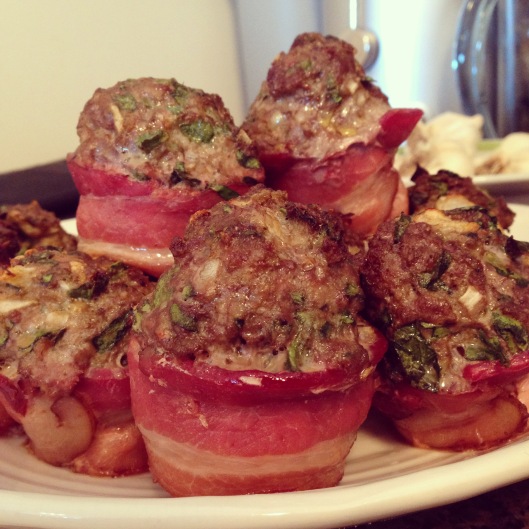
Now put it all together! Plate your carbonara and top with bacon!
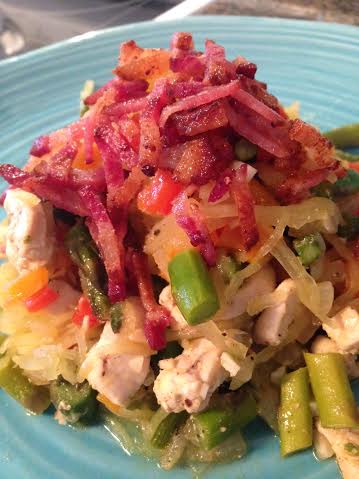
~Now that’s good eatin’ Folks!
 Last week, we did something pretty awesome!


 One of the things we stress more than anything is the hashtag #dontbeafraidofyourkitchen. For the both of us the most significant change we made to our lifestyles that put us on the journey of losing a shit ton of weight was eating food made by our own hands. Not food eaten out of a paper bag, popped into a microwave or spoken into a speaker box with Ronald McDonald staring back at us in anticipation that we’re going to Super Size our double quarter pounder meal.
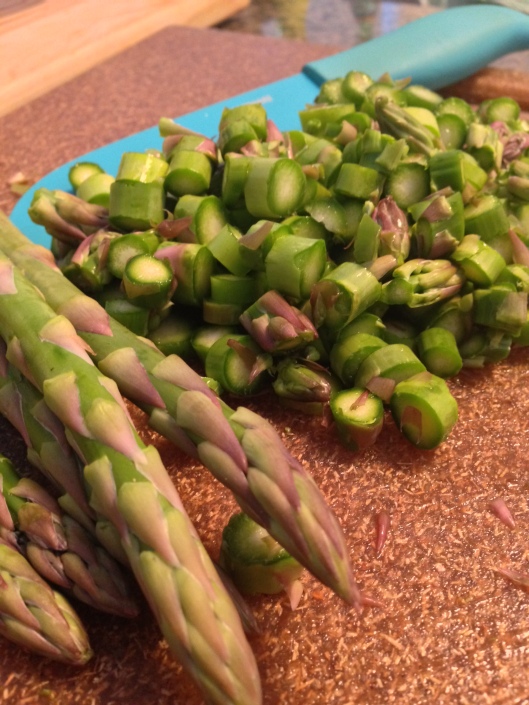
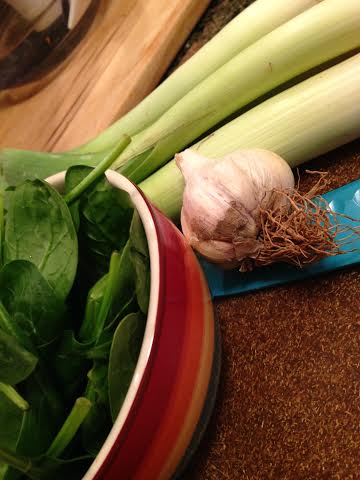
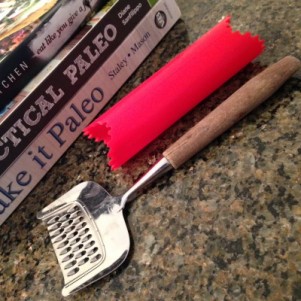 The first thing we use a lot is a garlic roller. If you’ve been reading any of our recipes for a while you know WE. LOVE. GARLIC. The list of health benefits goes on and on and let’s just get right to the point, it tastes amazing. When recipes call for a certain amount you can be assured we’ve either doubled it or tripled it. This little roller takes a lot of the painstaking peeling process out of the equation. Insert bulb, roll around on counter and kaboom! No more annoying skin. We know most of you have seen these in your local food stores and maybe you’re thinking “well it’s not that hard to peel in the first place so what’s the point?” Here’e the point: IT MAKES YOUR LIFE EASIER and at usually less than $5 what you should be thinking is “Why didn’t I get this sooner?”
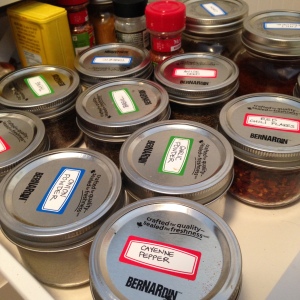 Don’t be afraid to change things up. Yes, you can follow this recipe exactly but when we were researching different recipes we decided to leave a few things out and add a few things in. When it came to spices we literally opened up our jars, took a big sniff and asked ourselves “would this enhance the taste?” In order to get comfortable in the kitchen you have to get comfortable in your ability. Just like in almost everything we do, the more we practice, the better we become.
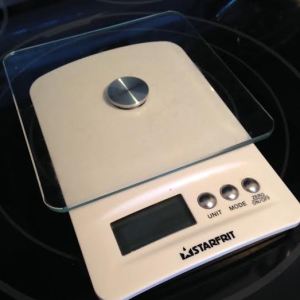 This is imperative if you want a solid understanding on what exactly a serving size looks like. We don’t spend enough time looking at that little information square on the side of a box (and if you’re eating out of boxes a lot, that might be the first thing you want to change) telling us what a serving size truly is. A serving of cereal is NOT a bowl filled to the rim. It’s usually a 1/3 – 1/2 cup…seriously, who eats just a 1/2 cup of cereal in one sitting (especially if it has those tasty little marshmallow nuggets)?
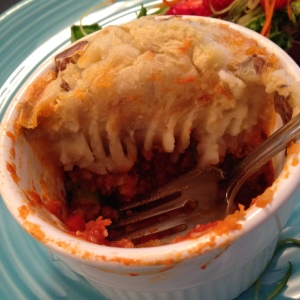
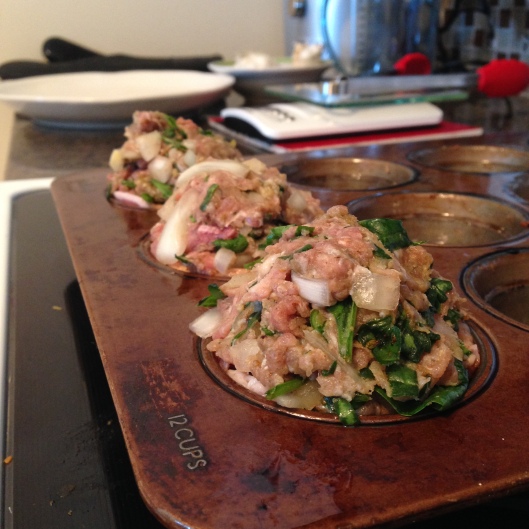
 One of the most used pieces of equipment in our kitchen is this little beauty of a food processor. It’s done wonders for helping us put that instagram hashtag #dontbeafraidofyourkitchen to good use. No lie. It can feel like a bigger purchase money wise (we spent around $200) for ours but after breaking a few lesser quality processors with our almond butter (motors couldn’t take running that long), this kitchen aid has done nothing but stepped up our game in making delicious foods. Everything from the fore-mentioned almond butter (which we use in numerous recipes) to soups to Paleo treats (like the recipe below) to sweet potato hash (a weekend staple in our house). Half of our recipes probably call for the use of a food processor. Remember your kitchen is where 80% of the battle happens. Arm yourself with only the best weapons.
 It’s hard not to get through the next couple of weeks without over eating, over drinking and over indulging all in the name of the Christmas spirit. People gather together to wish each other Merry Christmas, out do each other in the ugly sweater category, and clink glasses to another year gone by.